
The GOAT 3D Printer Setup
Reliable. Affordable. Low Maintenance.

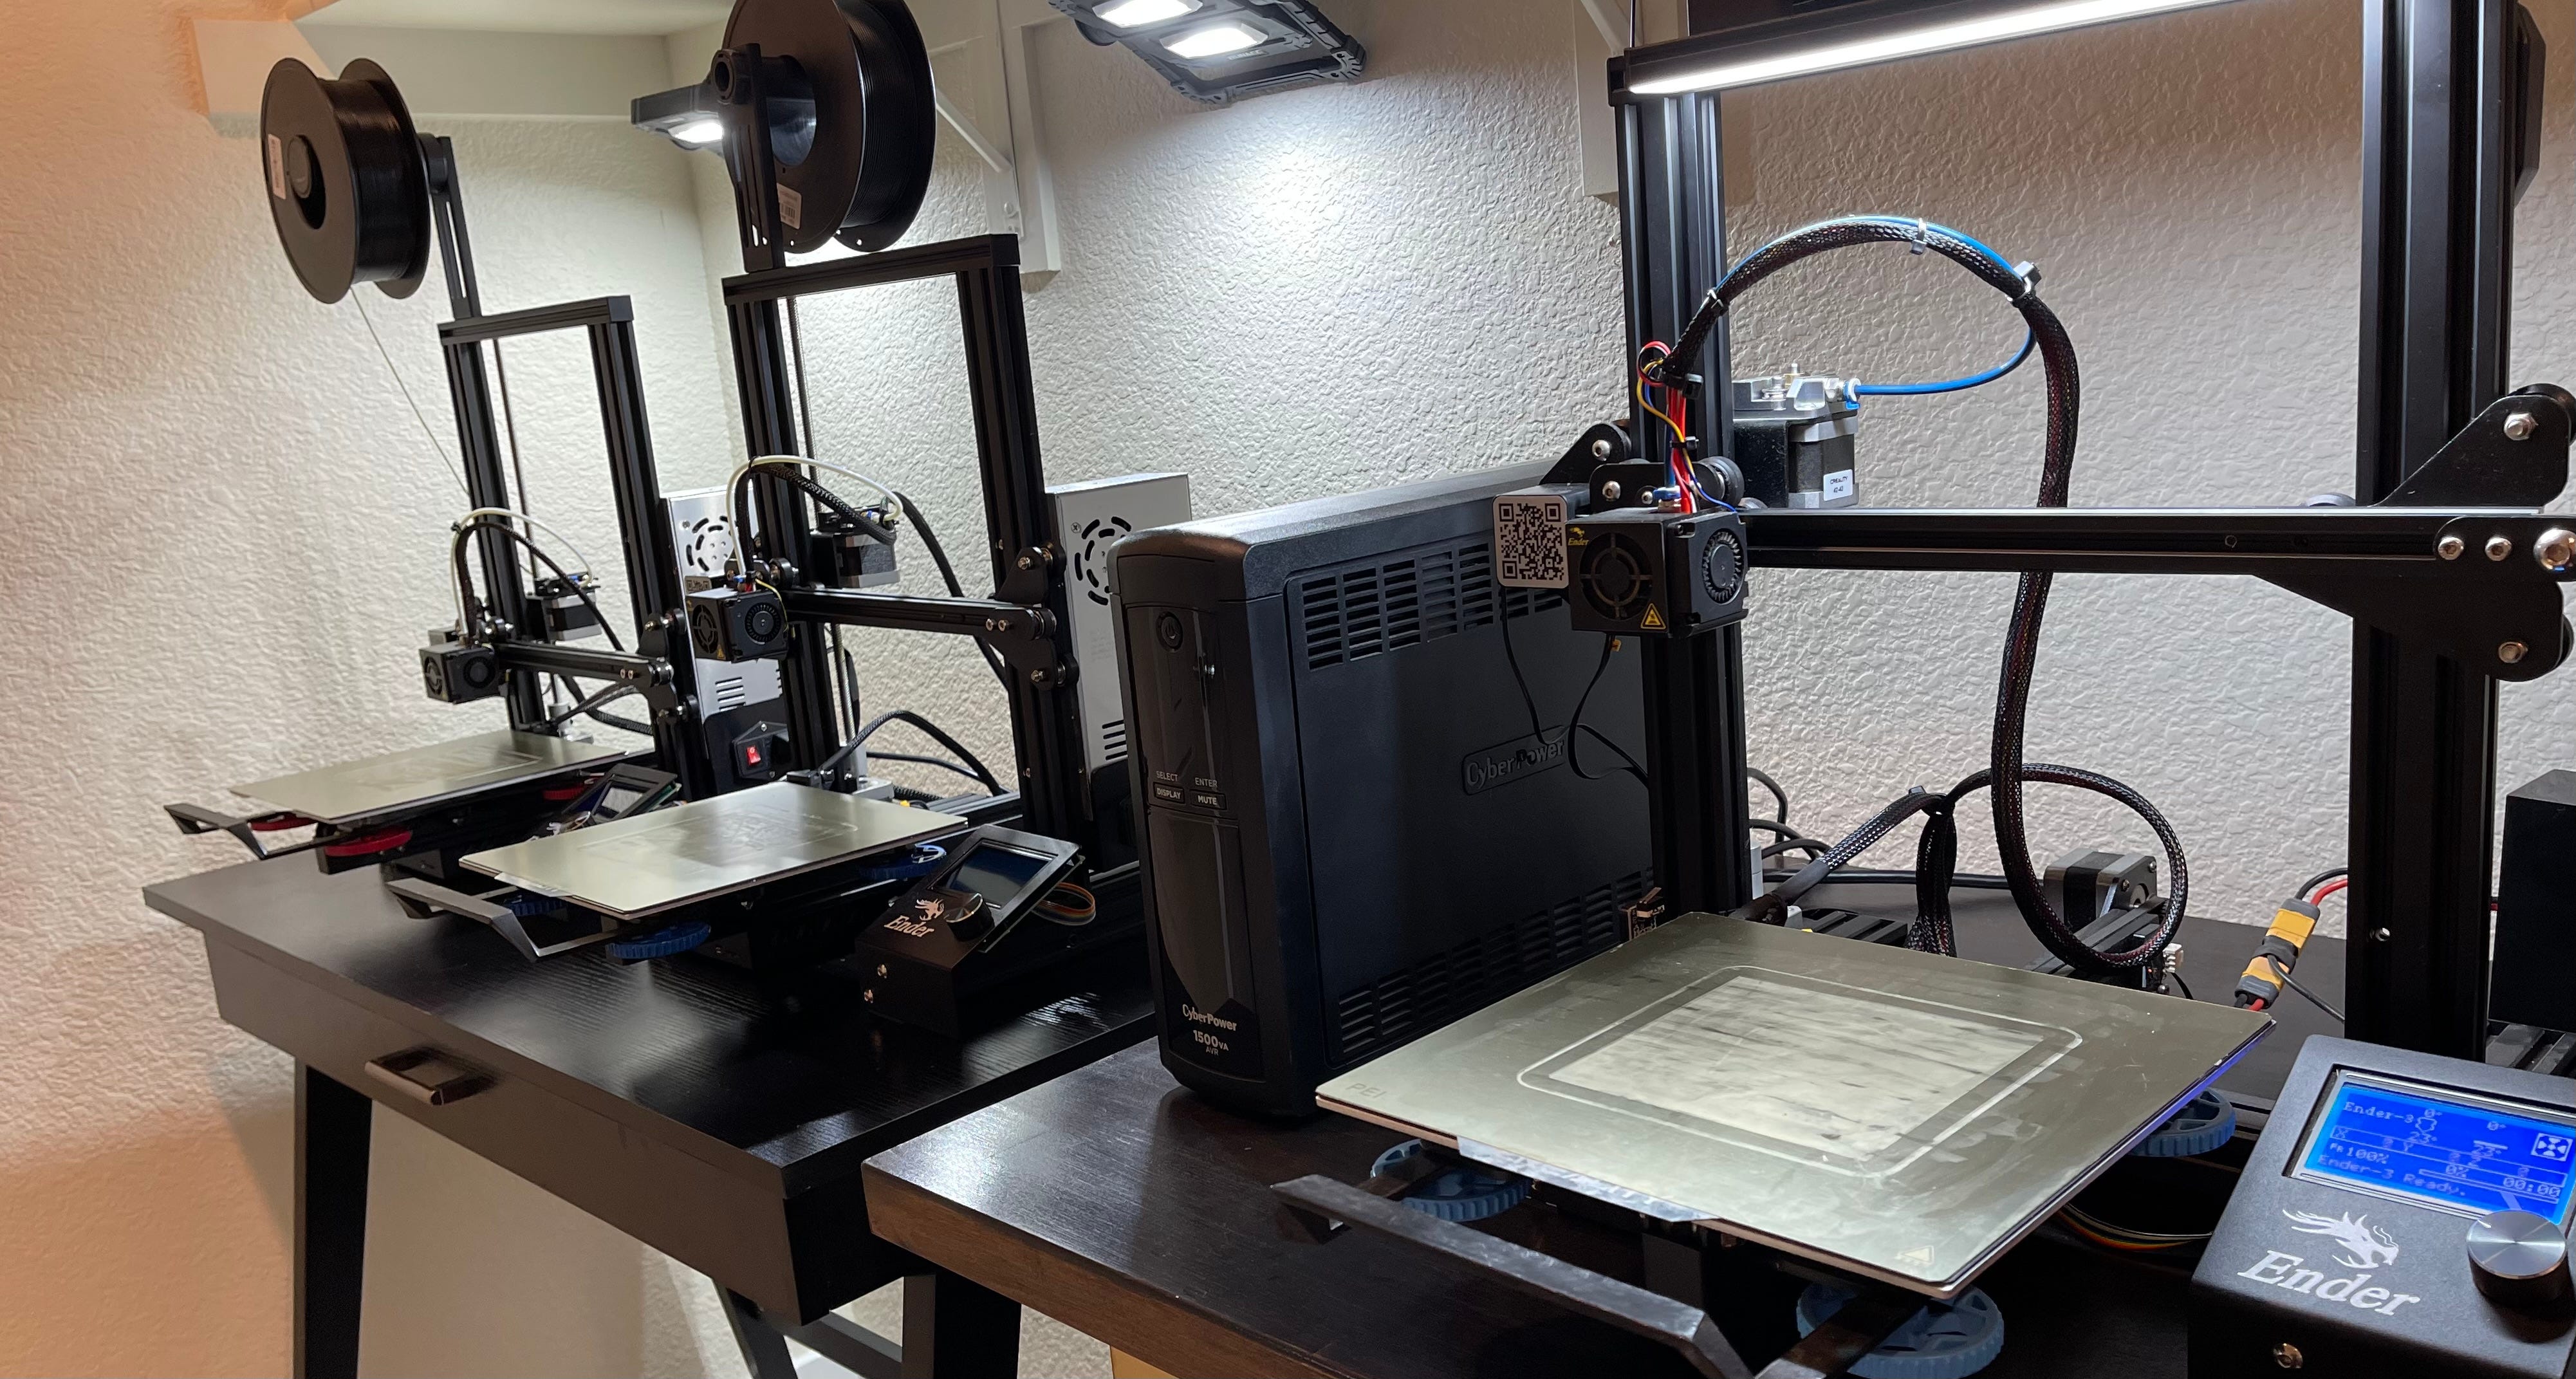
After years of experimenting in the 3D printing space I’ve now trimmed down to a prototyping lab consisting of four of this exact 3D printer setup and churn out on average 4-6 prototypes a day with very little maintenance.
This post will include all the links and tips to get this printer setup, but I will do a separate post shortly that will go into more detail on how to assemble it and get it dialed in once you receive it.
So first, here’s the build list:
Note: Some links are Amazon Affiliate links and I will receive a small referral for those. These help support the Substack and allow me to keep creating useful content. Thanks!
Essential Components

For less than $200 you can have the most reliable, calibrated out-of-the-box 3D printer in the world. DO NOT buy the Ender 3 V2 or Pro or any other version. Yes, they look nice. Yes they have fancier screens and quieter stepper motors. Do not be tempted to buy them. I’ve tried them all and they are FAR less reliable than the Ender 3 V1. I will include upgrades below which allow you to upgrade the V1 motherboard to silent motors, so just get the V1 and upgrade it with a silent board and it will still be cheaper than the V2 but far more reliable.

This upgrade adds a magnetic adhesive sheet to the top of the build plate, which adheres to the PEI plate. This makes for super easy print removal after you’re done printing, just pull up the plate from the bed and lightly bend it and the print will come right off. If you’ve ever scraped a print off the gritty bed of a stock Ender 3 you know how much of a pain it can be, so this is a must-have to make your life easier. If this model goes out of stock, search “Ender 3 PEI build plate” and it will pull up more in-stock options.

The stock springs that come on the Ender 3 are pretty weak and can cause the bed to lose level after every few prints. Bed leveling is pretty easy, but these springs hold level super tight and I rarely have to level a print bed much after installing them. I usually check level prior to a print just to make sure but that only takes about a minute. I don’t know why their base quantity is six, the Ender only has four bed springs so I linked the eight pack since it’s only a few cents cheaper than the six pack and will allow you to upgrade a second printer if you get one. If this option goes out of stock you can search for “Ender 3 bed springs” and it will pull up more options. Make sure to check the reviews to see that people have fit them successfully on Ender 3’s tho, as I’ve ordered springs that came in a spring/adjustment wheel combo pack and they were slightly too long and required moving up the Z-stop. I’ve confirmed the ones I linked are perfectly sized, but just something to check for if you’re looking for a different option.

This is probably the biggest upgrade you can make to your 3D printing experience if you have your printer anywhere near where you’re working or living, as the stock Ender 3 is pretty whirry/buzzy noise-wise. I’m honestly not sure why stock Ender 3’s don’t ship with this motherboard because it’s very cheap and would make the printing experience nearly perfect straight out of the box. But for whatever reason they don’t, I’m guessing to stay under the $200 price tag. The install of this board is pretty straightforward, I’ll do a post on how to install it as painlessly as possible and will place the link here. Once you’ve heard the standard print noise and then start a print after installing this board, it will blow your mind. Dead silent, the loudest thing you’ll hear is a slight whir from the hotend fan noise.

This is the most reliable PLA filament on the market, just buy this stuff.
Nice to Have Equipment

This light is one of those things that isn’t necessarily mandatory to make great prints but it does make for a very pleasant working experience. It has a super simple pass-through power connector so you just plug the power supply into the pass through and then the pass through into the printer and now every time you turn on the printer the light will turn on and you can see clearly to thread your filament, check bed level, etc. They also have a 3D-printable holder for the dimmer switch that you can print from Thingiverse here. Overall a very handy piece of kit.

As you’re setting up 3D print files in Cura and checking how many grams of filament the print will use, it’s very handy to know how much filament you have left on a roll. Having a digital food scale handy makes it super easy to check, just weigh your spool and subtract the tare weight of the spool itself (most manufacturers will have this printed on the spool for reference). Very cheap and you can use it to weigh and track food to achieve your fitness goals. Two for one special.
Advanced Equipment

If you want to print with advanced filaments such as fiber-filled nylon to create super strong parts, you’ll need an all metal hotend to handle the high temps. Bear in mind that after you install this hotend you may need to bump your nozzle temp for standard PLA prints in Cura up 5-10 degrees in order to allow for better filament flow as the all metal build creates slightly higher heat dissipation.

In order to print fiber-filled nylon you’ll also need an all metal extruder as well, as the filament can be quite abrasive to the stock plastic one and you’ll burn it out pretty quickly.
Total Cost Calculations
I’ve put together a cost summary below of each section so you can know how much it will cost to get setup with your new 3D printer:
Essential Components: $252 plus tax and filament of choice
Essentials + Nice to Haves: $297 plus tax and filament of choice
The GOAT Setup (Can print basically anything except for metal): $375 plus tax and filament of choice
It’s genuinely amazing that for less than $400 you can have a 3D printer that will print any polymer-based filament up to fiber-filled nylon. Fiber-filled nylon, while requiring some prep work and filament drying, will give you parts that are roughly equivalent, from a strength standpoint, to aluminum. This means you can print near-metal equivalent parts for less than $400. What a time to be alive.
More posts coming soon on setup and assembly tips and tricks, but for now grab a printer and start making stuff!
Greetings-long time BTB subscriber here. Launching health/beauty product - looking for help with graphics based on specs from the manufacturer. Sorry to contact you via comments section. Would be grateful to communicate more about this with you. Pls email me at: whitesands802@gmail.com. Ty